There are two ways to put sub-menu items on your WordPress navigation: using the menus screen and using the customizer function.

Using the Appearance -> Menus Screen
First, make sure the sub-menu item is below the menu item that’s going to be its parent – in this case the parent will be Holiday Tips:
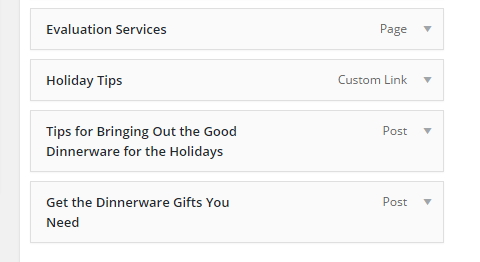
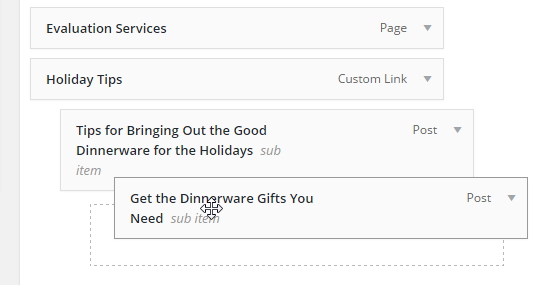
Now you drag the first sub-menu item to the right until you see that the dashed outline box underneath is indented, then stop dragging
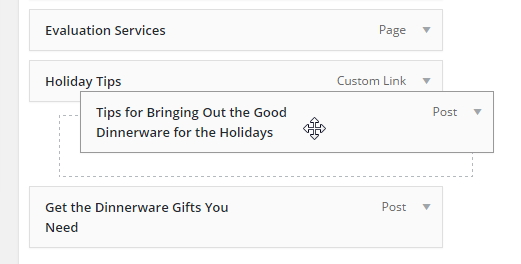
That menu item is indented to the right and the words sub item are displayed. Now you can drag the second sub-menu item until it’s indented to the right.
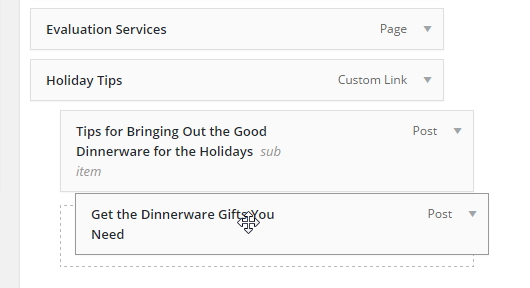
Once you’ve moved your sub-menu items, remember to click Save Menu.
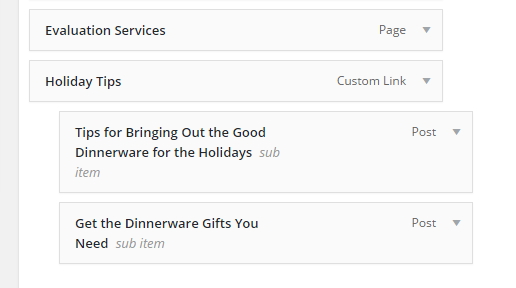
If you’d like a second level of sub-menu items – a sub-sub-item – simply drag an item further to the right below a sub-menu item, like this:
Not every theme supports a second level of sub-items.
Using the Appearance -> Customizer Screen
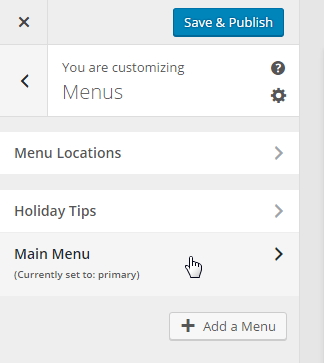
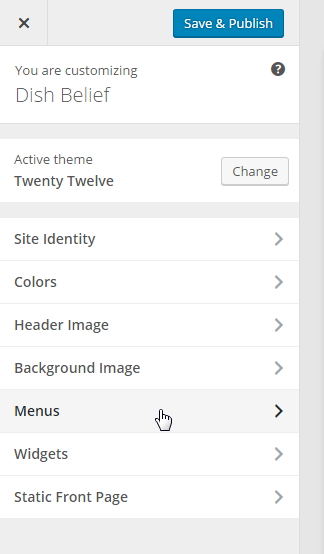
From the Customizer menu, click Menus and then click on the menu you want to edit:
- Click on the menu you want to edit
- Click on Menus
One you’re on the menu you want to edit, scroll to the bottom and click Reorder:
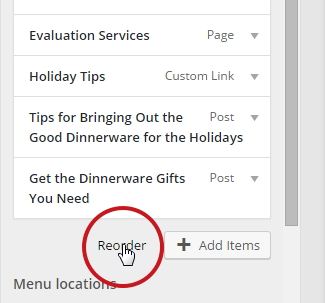
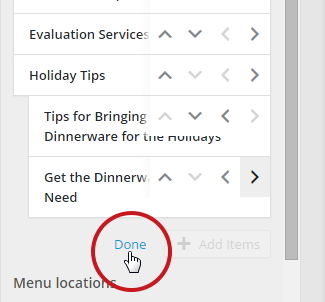
Now, every menu item will have a set of arrows beside it. Use the Up-Down arrows to position a sub-menu item below its intended parent item. Then you click the right arrow to make it a sub-menu item:
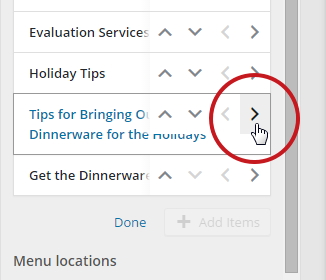
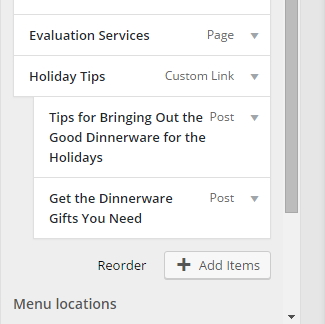
The item will then display as indented to the right slightly.
Next, click the right arrow on the next sub-menu item:
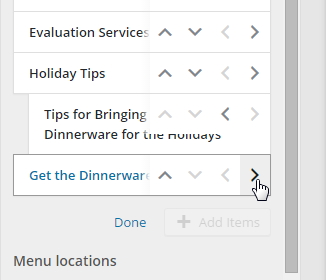
When you’re finished, click the Done link.
The positioning arrows now disappear.
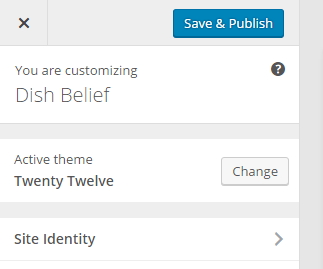
Finally, remember to click Save & Publish at the top or none of your changes will be saved.
What's Your Take?