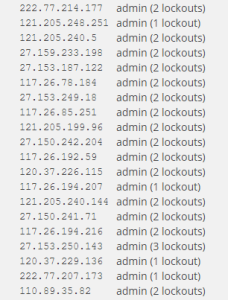
 If you have an administrator in your WordPress user list named admin, you need to get rid of that account immediately. Hackers know to target this user name because for many years it was the default user created on installation. The screenshot on the right, from a recent security plugin log, shows how they constantly try that user name, whether or not it exists in the system.
Deleting a user is simple. Just go to Users -> All Users and delete them from the list. You’ll be asked what you want to do with their content – make sure you choose Attribute all content to and then choose from a drop down of all other users on the system.
How To Delete Sole Administrators
But what if you’re the only administrator on your WordPress site and your user name is admin – how do you get rid of the account?
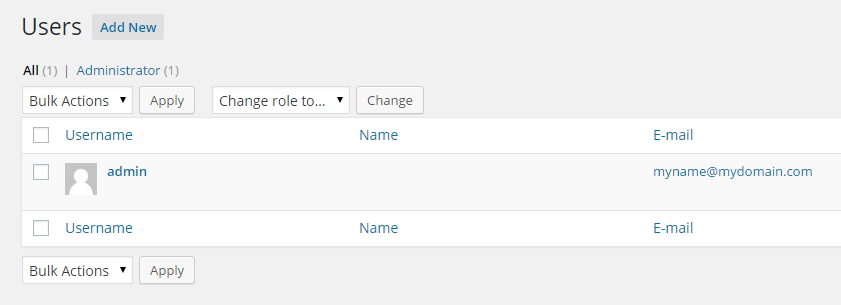
Create Another Administrator
Go to Users -> Add New and begin by entering a good username. That means using a word you can remember – don’t use your own name or some combination – and then adding a number you can remember. In this case I’ve written better83.
You can’t use the email address of your existing administrator because emails must be unique. Fortunately, the email address you put in here doesn’t matter – it’s only temporary. So put in anything that looks like a legitimate email address.
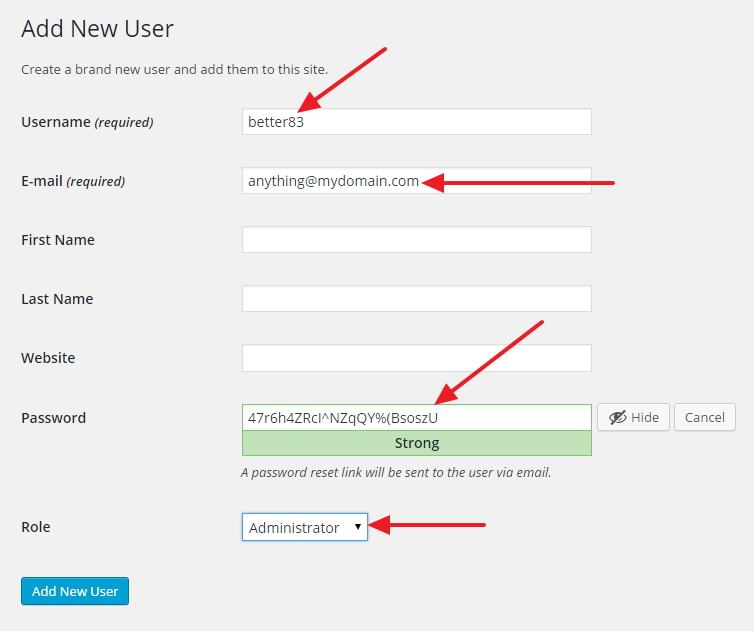
WordPress will give you a password. You can use it or put in your own strong password. Make a note of the password wherever you store them.
Then, make sure you switch the role to Administrator. If you don’t, this process is not going to work because only Administrators can delete other users.
Log Out Of WordPress
Now that you have two administrators, you can log out of WordPress.
Log Back In As The New Administrator
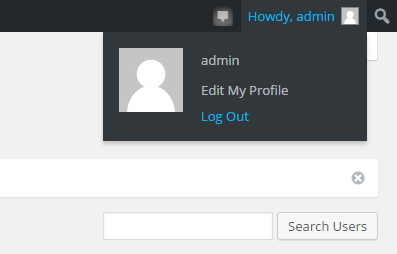
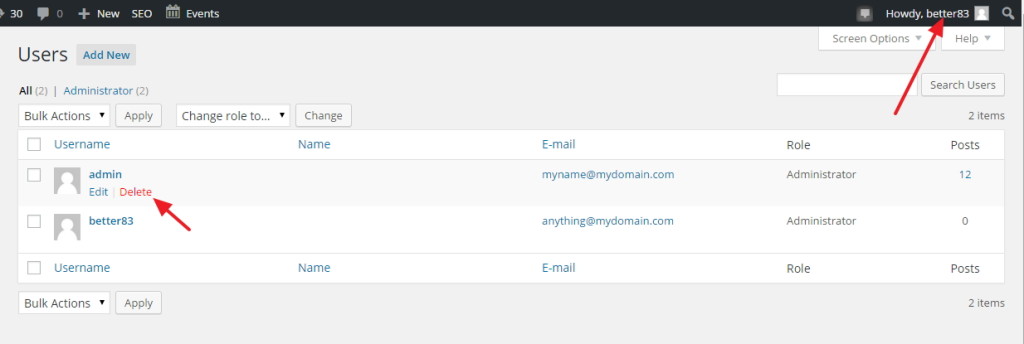
With your new user name and password, you log back into WordPress and you’ll see at the top right that your new user name is displayed.
Hover over the admin user and the delete link will display.
Click delete.
Assign Content To Your New Administrator
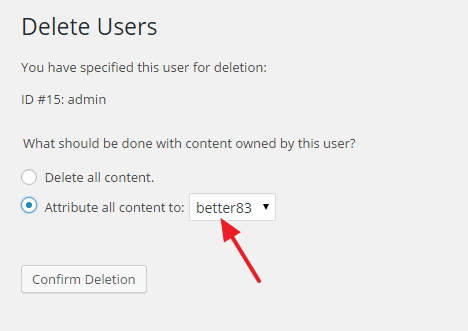
When you click delete, you’re taken to the Delete Users screen where WordPress asks what you want to do with all the content belonging to the user you’re deleting. In this case, of course, you want to keep it, but put it in the name of the new administrator.
Click the Attribute all content radio button and make sure your new administrator’s user name appear in the select field.
Click Confirm Deletion when you’re ready.
Change Your Email Address
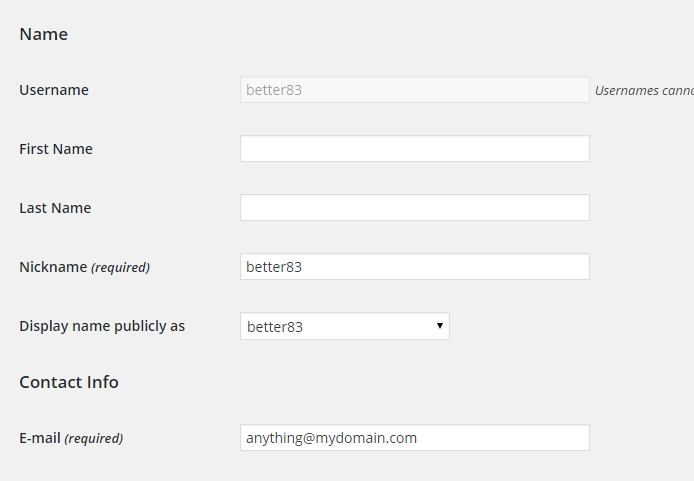
Now that you’re left with just the new administrator, you can go into your profile and change the email address (and if you haven’t already, add other information, like your name, etc.)
What's Your Take?